Apps are on the rise today with the progress of technology. Almost all of the new businesses being established online are making it a point to have a presence in the world of smartphones. As much as there are numerous mobile OS trending across the globe, Android has been among the frontrunner in the world of Mobile Apps, owing to its user and developer-friendly interface. One of the key points of android app development features in different programming concepts, one including C#.
C# is a programming language, following constructive modules adapted in building the base of any android app. For running C#, however, there was a need for a separate software called MonoDroid that helps in running the codes to suit Android application and operational package. Using this software, a person today can develop Android-based mobile applications by using the likes C# and even .NET.
More about Android App Development by C#
Novell developed Monodroid, and the structure design combines with the likes of Visual Studio version 2010 for giving out app-based output. Installing the same requires the users to have a fully functional Visual Studio add-on as well since this will combine with the main workforce template. Unlike this edition, the software does not combine and work with the Visual Studio Express edition. Now we are going to look at the set of the process required for Android application development using the software involving systematic approach.
Installation of MonoDroid
As a developer, you require setting up MonoDroid, Android SDK, and all particular software programs ready to kick start the designing of a simple Android app using the C# concept.
Custom Creation
In the process, we are set to design the first ever-Android app. The motive of the app is to flash the message Hello Android on the screen.
Next up, open the Visual Studio 2010 interface and click on the new project option. Choose Visual C# as the language along with category being MonoDroid. This is located on the left-hand side panel, near the project template categories.
In the forthcoming step, choose the MonoDroid option, and you are likely to see three different template modules, including,
All these templates have usage related to the usage of functional aspects. In this stage, the first option, i.e. MonoDroid Application project, is chosen. The next step involves coding information and explanation and here are more details,
using System;
using Android.App;
using Android.Content;
using Android.Runtime;
using Android.Views;
using Android.Widget;
using Android.OS;
namespace HelloAndroid
{
[Activity(Label = “HelloAndroid”, MainLauncher = true)]
public class Activity1 : Activity
{
int count = 1;
protected override void OnCreate(Bundle bundle)
{
base.OnCreate(bundle);
// Set our view from the “main” layout resource
SetContentView(Resource.Layout.Main);
// Get our button from the layout resource,
// and attach an event to it
Button button = FindViewById<Button>(Resource.Id.MyButton);
button.Click += delegate { button.Text = string.Format(“{0} clicks!”, count++); };
}
}
}
Explanation:
Next up, it is essential to look on the left side of the screen that has the Solution and Team Explorer tabs. Under the Solution explorer tabs, there are multiple file options, including the likes of Layout, Assets, Resources, and Values, to name a few.
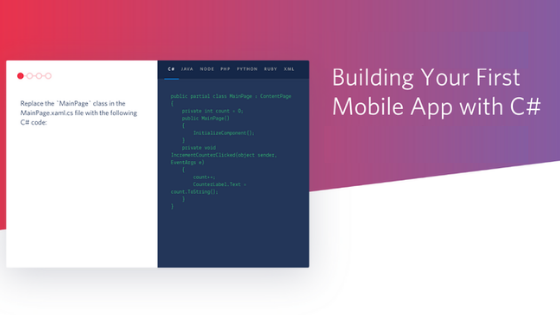
Next, on the display screen, add up the code Hello Android on the main page. To do this, type the same on the OnCreate method and add up TextView object alongside. It will change the text property to Hello Android.
protected override void OnCreate(Bundle bundle)
{
base.OnCreate(bundle);
var tv = new TextView (this);
tv.Text = “Hello, Android!”;
// Set our view from the “main” layout resource
SetContentView(tv);
}
Explanation:
Application Interface
With the SetContentView() function done, the next part involves creating the outer interface of the app. Here are some steps required to keep up,
Recap of Android Application Development
C# coding is essential, and so is the framework. In this brief explanation, there has not been much use of an advanced framework for execution. Android app development is all about how brilliantly a developer uses the framework for a seamless user experience. MonoDroid is a brilliant software allowing users to run codes with Visual Studio 10 version and display with essential functions. This makes understanding and coding easier to work.
In the end, you are ready with your code, and you can try out some other modules and options if you are well aware of Android SDK, .NET, and C# coding tricks and tips. Similarly, you can use HTML and other modern-day frameworks to design your app and C#, without complicating with the hardcore coding stuff.